
Your garage door is likely the heaviest moving object in your home. While the electric opener gets all the credit for lifting it, the real muscle comes from the torsion springs. These tightly wound coils sit horizontally above the door opening and do the heavy lifting by counterbalancing the door’s weight.
When a torsion spring breaks, your garage door becomes “dead weight.” It may refuse to open, or the opener may struggle and hum without moving the door. Replacing these springs is one of the most common garage door repairs, but it is also one of the most dangerous.
This guide will walk you through the process, but proceed with caution. The tension stored in these springs is enough to cause severe injury. If you are unsure at any point, it is always safer to call a professional.
Getting Started: Safety First!
Before you even touch a tool, you must respect the physics at play. Torsion springs are under immense tension. When they break, they release all that energy in a split second. When you install new ones, you are manually loading that energy back in.
Critical Safety Rules:
-
Never use screwdrivers or pliers to wind springs. You must use proper steel winding bars.
-
Always wear safety glasses and leather gloves.
-
Disconnect the electric garage door opener to prevent accidental activation.
-
Stand to the side of the winding bars, never directly in front of them.

Before you begin
You need to determine if you have a standard torsion spring system or a specialized system like the TorqueMaster.
-
Standard: You can see the springs clearly on the shaft above the door.
-
TorqueMaster: The springs are hidden inside a metal tube. This guide covers standard torsion springs. If you have a TorqueMaster system, stop; this requires a different, specialized procedure.
Gather Tools
You cannot improvise with tools here. Ensure you have everything before starting:
-
Winding Bars: Specific steel rods made for garage doors. (Do not use rebar or screwdrivers).
-
Socket Wrench Set: Specifically 7/16” and 9/16” sockets.
-
Vise Grips: Two pairs of locking pliers.
-
Wrenches: An adjustable wrench and a set of open-ended wrenches.
-
Step Ladder: Sturdy and tall enough to reach the header comfortably.
-
Tape Measure.
-
Safety Gear: Glasses and gloves.
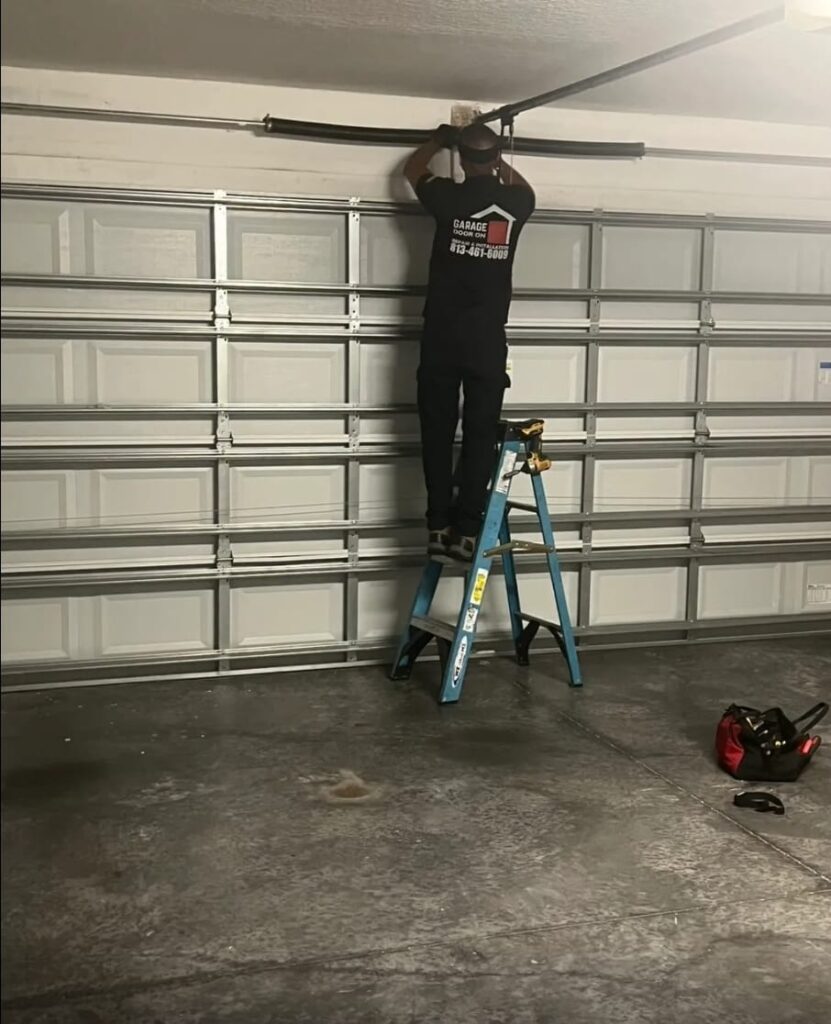
Step-by-step replacement guide
1. Unplug the Opener
Disconnect the power cord of your garage door opener from the ceiling outlet. Pull the red emergency release cord to disengage the opener from the door.
2. Lock the Door Down
Close the garage door completely. Use a C-clamp or locking pliers on the track just above one of the rollers to prevent the door from accidentally shooting up if the spring tension is released unevenly.
3. Unwind Old Springs
DANGER ZONE: This is the most dangerous step.
Even if your spring is broken, there may still be tension on the unbroken segments or the second spring (if you have two).
-
Insert a winding bar fully into one of the holes in the winding cone (the part at the end of the spring).
-
Hold the bar firmly. Loosen the set screws on the winding cone.
-
The spring will want to spin violently. Hold tight.
-
Use the second winding bar to walk the tension down, turning the spring ¼ turn at a time until it is completely loose.
-
Repeat for the second spring if applicable.
4. Loosen Torsion Hardware
Once all tension is removed:
-
Loosen the set screws on the cable drums (the metal wheels at the end of the shaft).
-
Disconnect the lift cables from the drums.
-
Unbolt the springs from the center bracket (the bracket in the middle of the header).
5. Remove Old Springs
-
Slide the torsion shaft (the metal tube) to the left or right to slide the cable drums off.
-
Slide the old springs off the shaft.
-
Note: You may need to remove the end bearing plates to get the shaft out far enough.
6. Replace Springs
-
Slide the new springs onto the shaft. Ensure you put the Left-Wound spring on the right side and the Right-Wound spring on the left side (they are color-coded: Red is usually Right/Left side of bracket, Black is Left/Right side of bracket – verify with supplier).
-
Slide the cable drums back on.
-
Reassemble the center bearing and bolt the two springs together at the center bracket.

7. Reinstall Torsion Hardware
-
Reattach the lift cables to the drums. Ensure the cable is sitting perfectly in the grooves.
-
Tighten the cable drums to the shaft.
-
Use vise grips on the shaft to hold it tight against the wall so the cables stay taut.
8. Wind New Springs
-
Mark the torsion shaft with a straight line using a marker. This helps you count turns.
-
Insert your winding bars and begin winding the spring up (pushing up).
-
How many turns? A standard 7-foot door usually requires 30 to 31 quarter-turns (which equals roughly 7.5 full turns). Consult your spring supplier’s chart.
-
Once wound, tighten the set screws on the winding cone. Do not over-tighten or you can crush the hollow shaft.
9. Check & Lube Garage Door
-
Remove the vise grips and C-clamps.
-
Lift the door manually. It should feel light.
-
If it flies up, you wound it too tight. If it is heavy, you need more turns.
-
Spray the new coils with a silicone-based garage door lubricant.
10. Reconnect Opener
Plug the opener back in and re-engage the carriage. Run a test cycle.
Measuring Garage Door Torsion Springs
You cannot buy generic springs. They must match your door’s weight exactly. Measure your broken spring:
-
Wire Size: Measure the length of 10 coils in inches and divide by 10. (e.g., 2.5 inches / 10 = .250 wire gauge).
-
Inside Diameter: usually 1.75″ or 2″. Measure the inside hole.
-
Length: Measure the overall length of the coils only (exclude the cones).
-
Wind Direction: Look at the end of the wire. If it curls clockwise, it is right-hand wound.
How Much Does It Cost to Replace a Garage Door Spring? (2025)
In 2025, the national average for a professional torsion spring replacement ranges from $250 to $450.
Cost Factors
-
Number of Springs: Most modern doors use two. Always replace both.
-
Spring Quality: High-cycle springs (rated for 20,000+ cycles) cost about $50-$100 more but last twice as long.
-
Labor: Emergency or weekend service will carry a premium.

How To Save
-
Replace Both at Once: You save on the second service call fee since the technician is already there.
-
Opt for High-Cycle: Spending a little more now saves you a replacement cost in 5-7 years.
-
Maintenance: Lubricating your springs every 6 months prevents rust, which is the #1 killer of springs.
Signs You Need To Replace Your Garage Door Spring
-
Loud Bang: A sound like a gunshot in the garage.
-
Gap in Coil: A visible 2-inch separation in the spring.
-
Heavy Door: The electric opener hums but cannot lift the door.
-
Crooked Door: The door lifts unevenly or gets stuck.
-
Falling Door: If you lift it manually and let go, it crashes down.
Spring Replacement vs. Garage Door Replacement
You do not need a whole new door just because a spring broke. That is like buying a new car because of a flat tire. However, if your door panels are rusted, the tracks are bent, and the insulation is falling out, it might be more cost-effective to replace the entire system rather than sinking money into repairs.
DIY vs. Professional Replacement
DIY:
-
Pros: Save $150-$200 in labor.
-
Cons: Highly dangerous. Requires specific tools. No warranty on labor. If you buy the wrong size spring, the door will not work.
Professional:
-
Pros: Safe. Done in under an hour. Includes a warranty. They balance and tune the entire door.
-
Cons: Higher upfront cost.

Hiring a Professional
If reading the “Unwind Old Springs” section made you nervous, do not attempt this. The hospital bill is much higher than the service fee.
At Garage Door On, our technicians perform thousands of spring replacements annually. We carry all standard sizes on our trucks, meaning we can usually fix your door in a single visit. We use high-cycle, oil-tempered springs designed to withstand the humidity and usage patterns of Florida homes.
FAQs
Q: Can I use my opener if the spring is broken?
A: No. You will burn out the motor or strip the gears. The opener is designed to guide the door, not lift dead weight.
Q: How long do springs last?
A: Standard springs last about 10,000 cycles (7-9 years of average use). High-cycle springs can last 15+ years.
Q: Why did my spring break?
A: Metal fatigue. Every time the door opens, the steel twists. Eventually, micro-cracks form and the metal snaps. Rust accelerates this process.
Q: Should I change the cables too?
A: It is recommended. Since the tension is off the cables during spring replacement, it is the perfect time to swap out frayed or rusty cables for a nominal fee.
Need help? Contact Garage Door On today for fast, safe, and professional spring replacement.