Your garage door opener is a vital piece of technology that offers convenience and security. But what happens when it stops working? A power outage, a pulled emergency cord, or a simple mechanical issue can bring your daily routine to a halt. This guide will walk you through the most common problems and provide clear, actionable solutions. We’ll cover everything from how to fix a LiftMaster garage door opener to the essential steps for maintenance like how to adjust the chain on a garage door opener.
Part 1: The Reset – Getting Back on Track After an Incident
A garage door opener can lose its programming or connection for a variety of reasons. Knowing how to reset garage door opener is the first step to solving many problems.
Power Outages
One of the most common issues is a power failure. When the electricity returns, the opener may not function as it should. Here’s what to do:
- Genie Openers: For a Genie opener, you’ll need to know how to reset Genie garage door opener after power outage. Locate the wall console and press and hold the “Learn” or “Program” button for a few seconds. Then, press your remote button to reprogram it.
- LiftMaster/Chamberlain Openers: The process is similar. To know how to reset LiftMaster garage door opener after power outage or how to reset Chamberlain garage door opener after power outage, simply re-program your remotes. Locate the “Learn” button on the back of the motor unit, press and release it, then press your remote button. The opener’s lights will flash to confirm the successful reset.
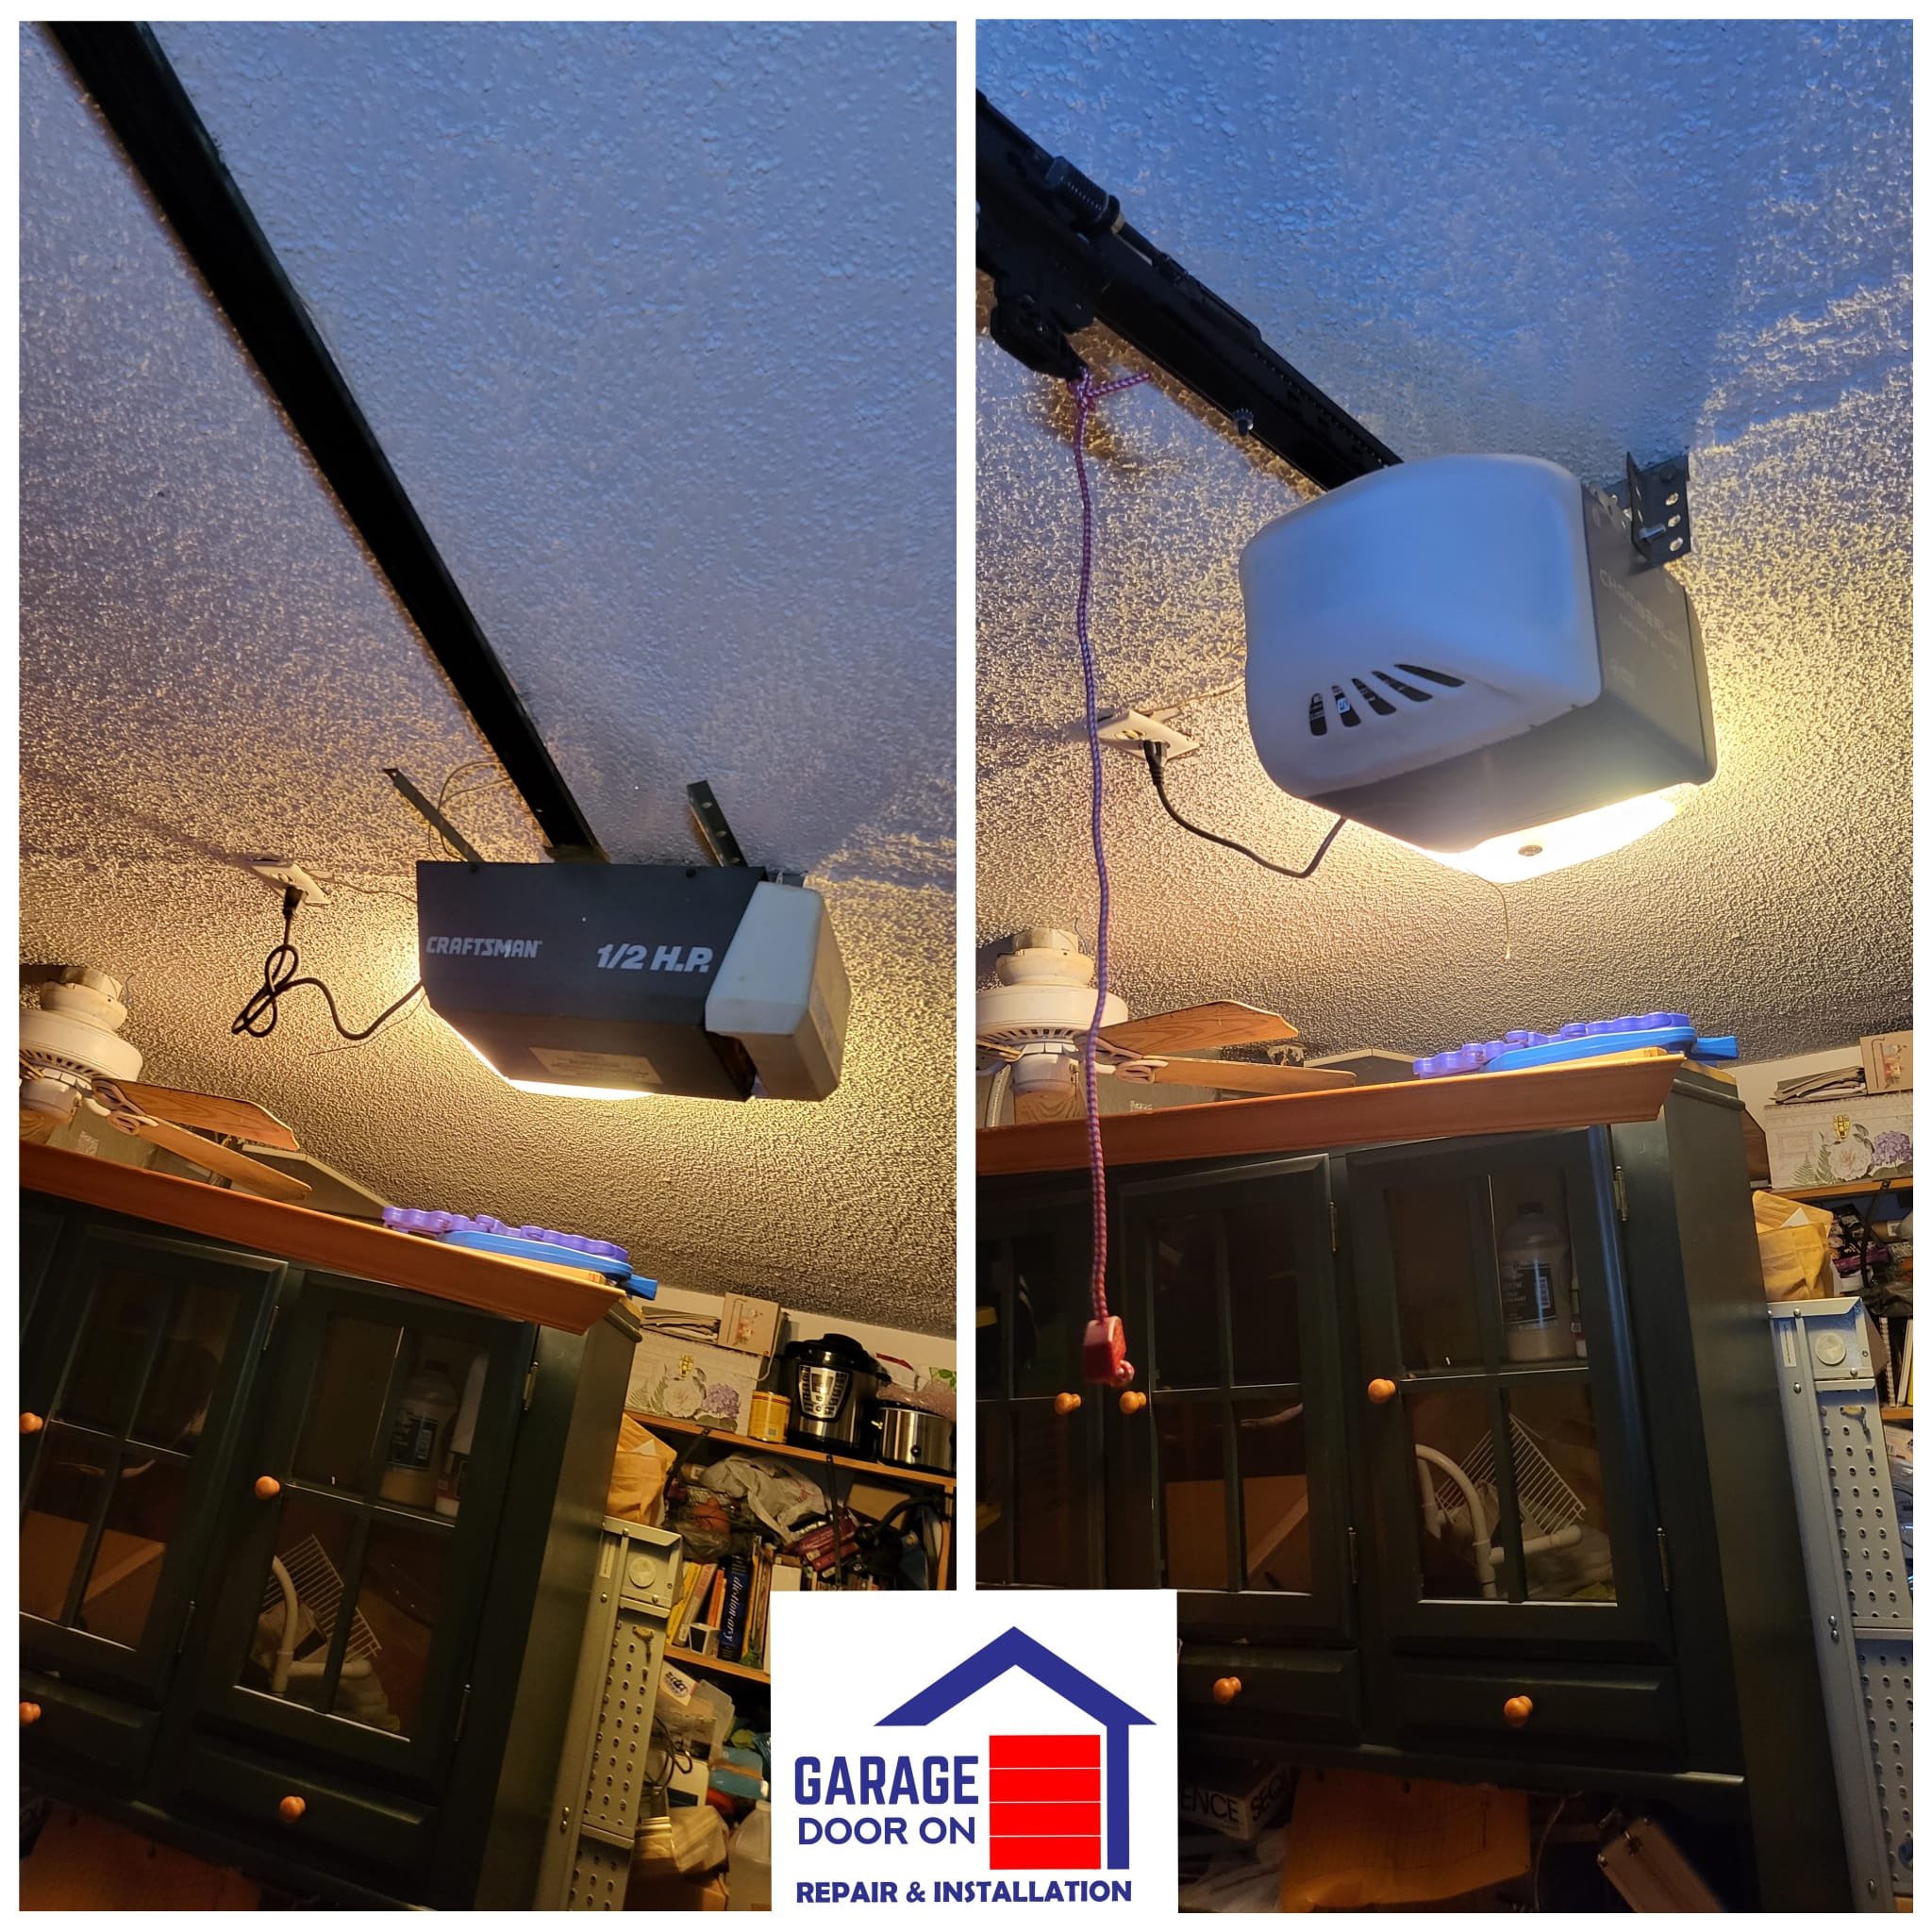
The Emergency Release Cord
The red cord is designed to disengage the opener from the door, allowing for manual operation during a power outage. However, pulling it by accident can be confusing. To know how to reset garage door opener after pulling red cord, simply follow these steps:
- Make sure the garage door is completely closed.
- Pull the emergency cord toward the door, away from the trolley. This will re-engage the trolley with the track.
- The trolley should click back into place. You can now operate the door with your remote or keypad.
Lost or Forgotten PIN
If you’re asking how to reset pin for garage door opener, you’ll need to use the “Learn” button on the motor unit. This is the same process for programming a new remote. To set a new code, press and release the “Learn” button, then enter your new PIN on the keypad and press the “Enter” button. This is also how to set code for LiftMaster garage door opener.
Part 2: Locking and Unlocking Your Opener
Your opener has safety and security features that can sometimes be a source of confusion.
Unlocking the Opener
Many openers have a “lock” feature on the wall console that disables all remotes and keypads. If your remote isn’t working, check the wall console for a glowing lock icon or an illuminated “lock” button. To know how to turn off lock button on garage door opener, simply press and hold the lock button for a few seconds. This is the primary solution for how to unlock garage door opener and how to unlock LiftMaster garage door opener. The same process also applies for how to unlock Chamberlain garage door opener.
Locking the Opener
For security, you might want to lock your opener. To know how to lock LiftMaster garage door opener, just press and hold the “Lock” button on your wall console. This will disable all remotes, keypads, and even the car’s built-in remote. This also answers how to lock and unlock LiftMaster garage door opener and how to unlock a LiftMaster garage door opener.
Manual Release
If you need to get inside the garage when the opener is locked and you are outside, you need to know how to open a LiftMaster garage door opener manually. You can use the emergency release key (if your system has one) to release the lock and pull the door up. This is also part of how to open LiftMaster garage door opener.
Part 3: Essential Maintenance and Troubleshooting
Sometimes, the issue isn’t with the electronics but with the mechanical parts. Here’s a quick guide on how to troubleshoot a garage door opener.
Adjusting the Chain
Over time, the chain on your garage door opener can become loose. This can cause a jerky motion or the chain to come off the sprocket. To fix a LiftMaster garage door opener with a loose chain, you will need to tighten it. Here’s a quick guide:
- Locate the Adjusting Nut: Find the turnbuckle or adjusting nut on the chain, usually near the trolley.
- Tighten the Chain: Use two wrenches to hold the turnbuckle and tighten it. The goal is to have about half an inch of slack in the chain. This is the correct way to adjust the chain on a garage door opener and tighten chain on garage door opener.
- Check Tension: After tightening, the chain should not sag more than half an inch. This is a key step to how to adjust chain on garage door opener. The same principles apply to how to tighten the chain on a garage door opener and how to adjust garage door opener chain.
General Troubleshooting
If your opener still isn’t working after trying these steps, consider these common problems:
- Safety Sensors: Check the safety sensors on either side of the door. They must be aligned and clear of any obstructions.
- Remote Issues: Is the remote’s battery dead? Is it programmed correctly?
- Mechanical Problems: Are the springs and cables in good condition? A broken spring can make the door too heavy for the opener to lift.
By understanding these basic principles of maintenance and troubleshooting, you’ll be well-equipped to handle most common garage door opener issues. The ultimate key is the “Learn” button and a little bit of patience. By learning how to troubleshoot garage door opener problems on your own, you can save time and money, ensuring your garage door remains a convenient part of your home.


